Hey everyone!
As you can tell Bunnies, Chicks and Easter Eggs have taken over our blog! We're embracing the springtime spirit and of course tying it into Easter (which is just around the corner by the way!). As you know we're a big fan of adding personal touches here at The Felt Store and showing off handmade and DIY projects. We've got a few easy ideas that will set the perfect backdrop to your Easter celebrations. This project is so easy that you won't have an excuse for not decorating your home this year.
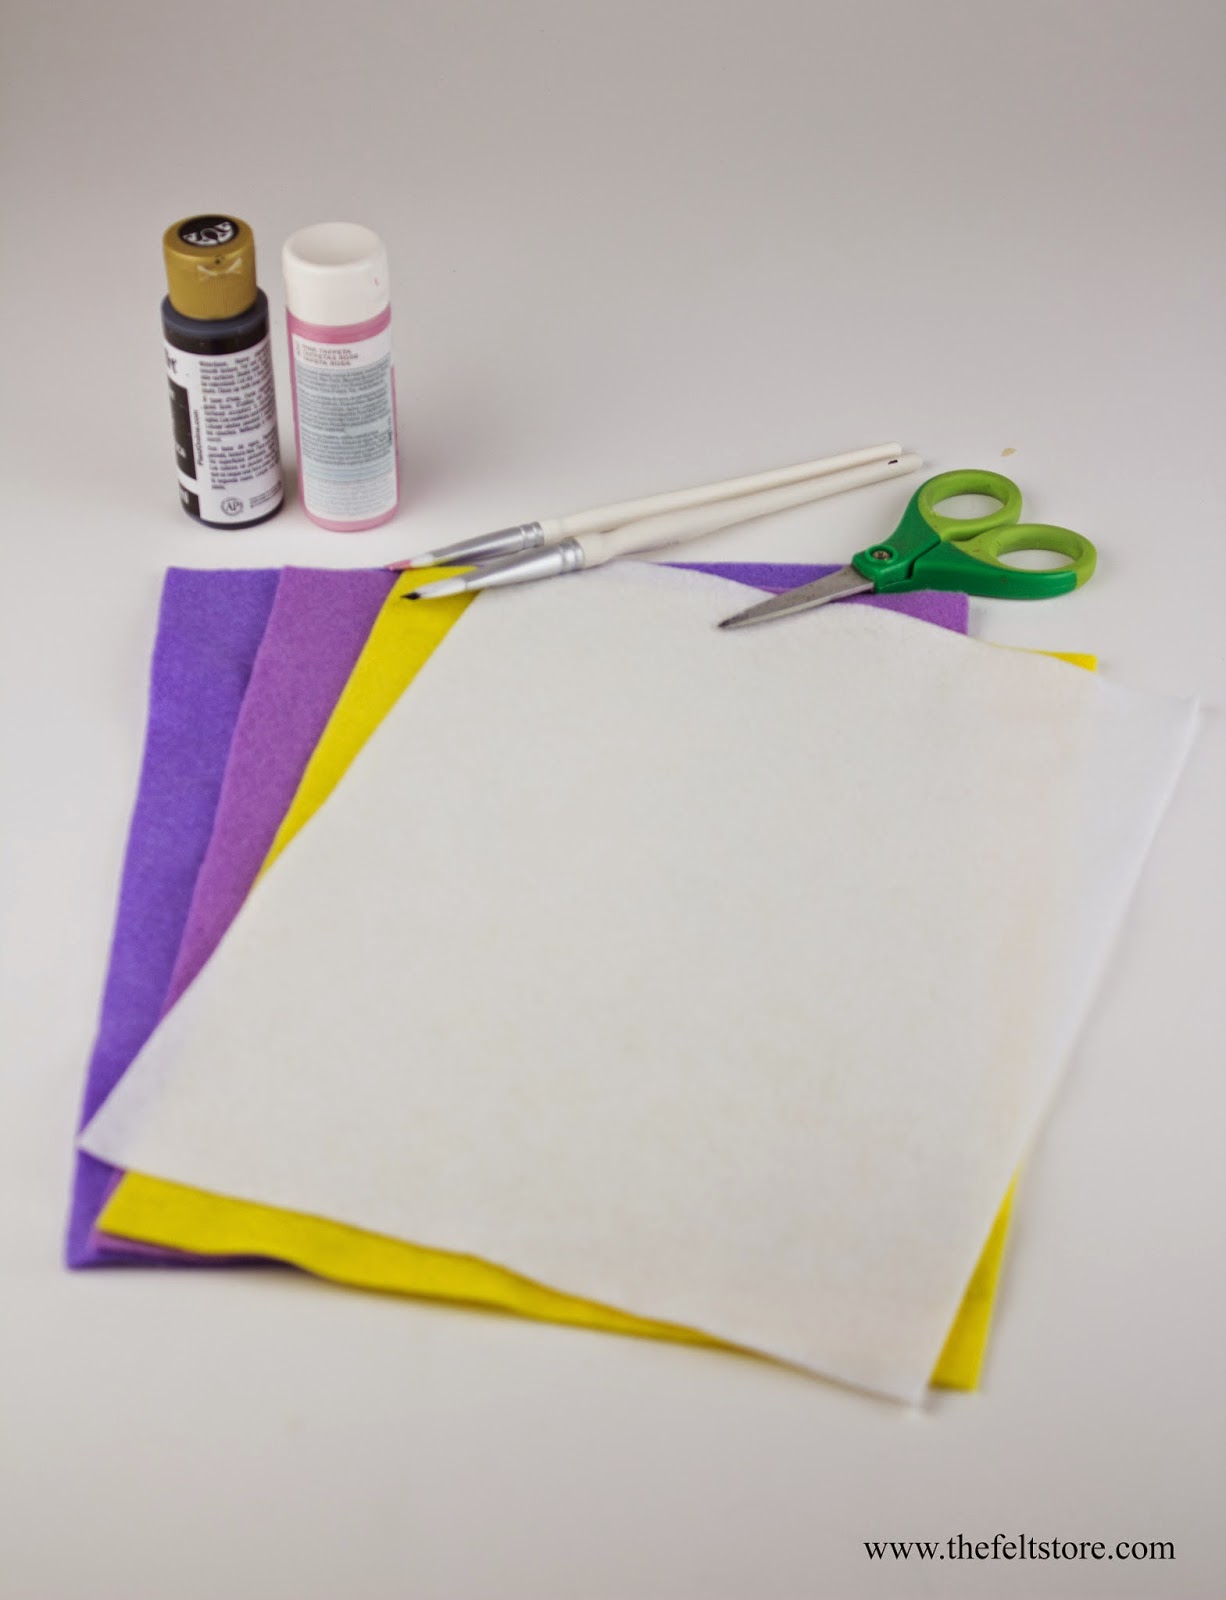
Materials
9" x 12" Acrylic Felt - Yellow
9" x 12" Acrylic Felt - Lavender
9" x 12" Acrylic Felt - Violet
9" x 12" Acrylic Felt - White
Fabric Paint & Paint Brushes
Glue Gun
Yarn/ String
Scissors
Template
Pencil
1) Either make or find a bunny and chick template and start tracing the chick onto the
yellow felt and the bunny onto the
white felt. I traced out 6 chicks and 5 bunnies.
2) Cut out the chicks and bunnies from the felt and take your fabric paint and paint out eyes. and two rosey cheeks! Using excess black paint make an "X" for the mouth or of course go ahead and make them smile! You'll be left with something like what you see below!
3) Glue the 11 pieces in any pattern you like, I created the pattern below for my garland
Now you can stop here if you like! But we do have a quick tutorial on how to make an Easter Banner as well to accompany the bunnies and chicks!
5) Repeat step 1 but this time tracing out a banner and letters. Once you've traced out your letters and the banner shape, you'll have something similar below.
6) Once you've done all the tracing, cut out the banner and cut out the letters as well so you're left with something similar.
7) Now it's time to glue! Take either yarn, string or ribbon you'd like the banner to be stuck on. I choose to keep the bright colours going and use our
teal colour wool yarn which complimented both the felt animals and the "Easter" banner. Flip your felt animals and banners and start gluing ( I used the eyes as my guideline in terms of keeping the string centered)
Once you're done gluing you'll have a finished garland to place on your walls or mantel! Perfect diy touches to your Easter brunch setting.
What felt projects are you working on for the big celebrations? Share them with us by using the hashtag #thefeltstore or tagging us on T
witter, F
acebook, I
nstagram


Comments
Post a Comment